
To stop a blender from getting stuck on thick mixtures, pause the motor and stir two tablespoons of liquid into the bottom around the blades.
Why your blender keeps getting stuck
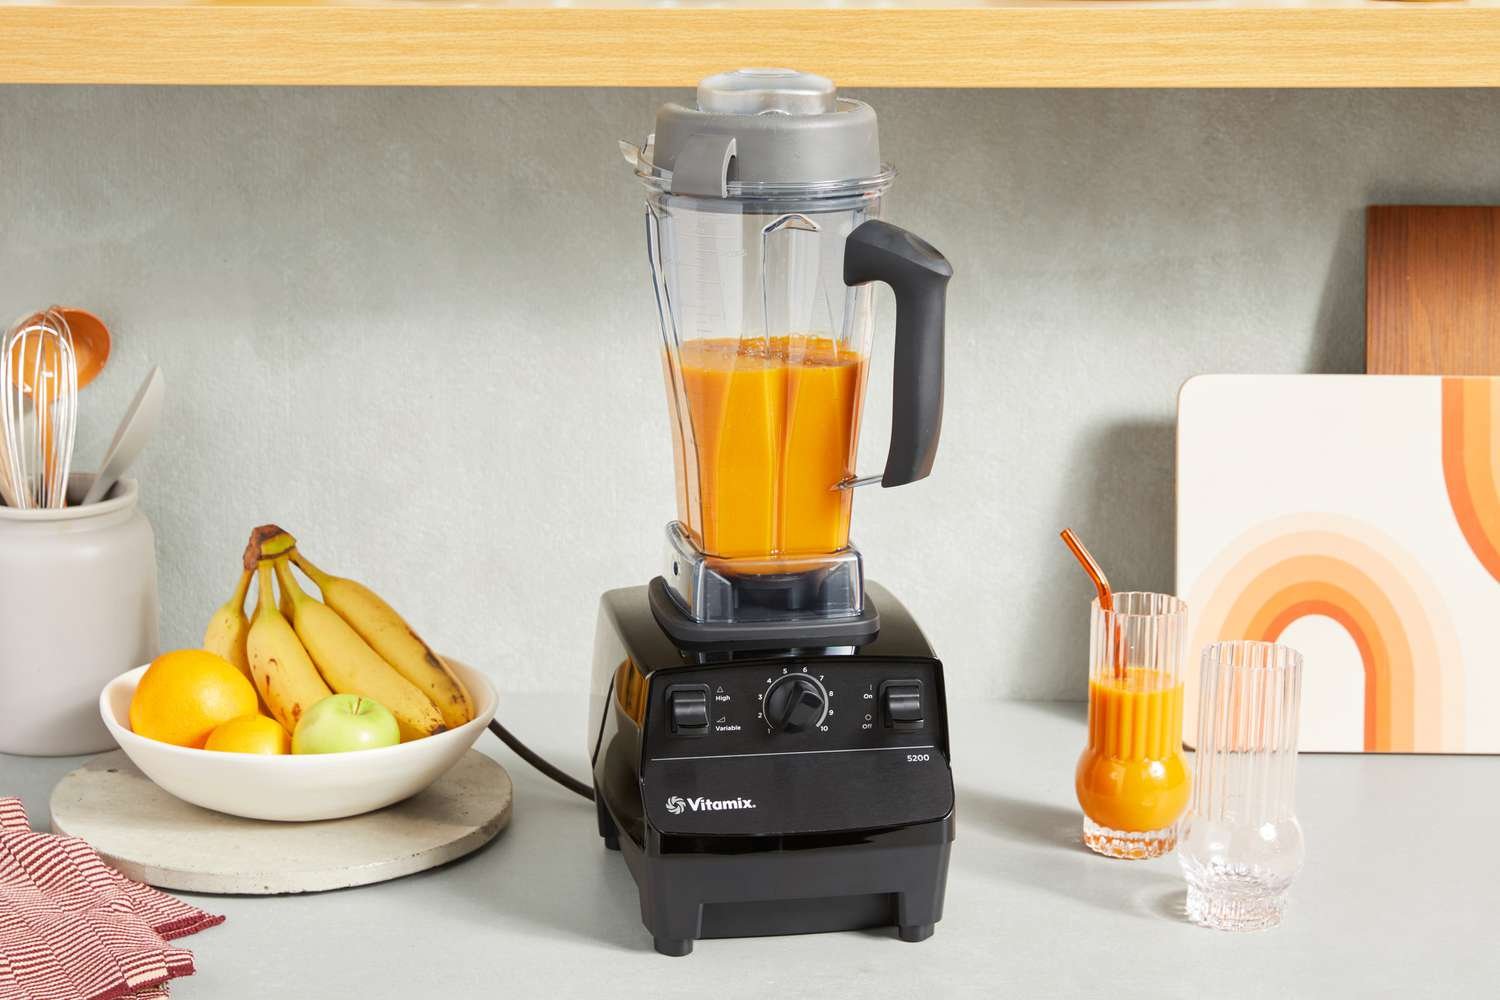
Blenders need liquid to create a vortex. When you blend nut butter, hummus, or thick smoothie bowls, there isn’t enough moisture to pull the ingredients down. The blades quickly fling the food against the pitcher walls and spin freely inside an empty pocket. This is called cavitation.
The motor spins fast, but nothing touches the cutting edges. If you keep running the machine, the motor overheats quickly. The trade-off of making dense recipes is that you lose the self-circulating action of thin liquids. You must either push the food back into the cutting path or add enough liquid to recreate the flow.
Add liquid two tablespoons at a time
This fix is for anyone making thick smoothies, dips, or sauces where adding a splash of liquid won’t ruin the recipe.
- Turn off the blender.
- Pour exactly 2 tablespoons of water, milk, or broth directly down the side of the pitcher so it hits the blades.
- Pulse the blender 3 times on low speed.
If the blades grab the food, let it run on low speed. If the blades spin freely again, add another 2 tablespoons. You’ll know it worked when the mixture starts folding down from the top into a steady swirl. This fix isn’t for people making dry spice blends or stiff nut butter, because extra water makes nut pastes seize and ruins the texture.
Push the mixture with a custom tamper
This fix is for very thick mixtures like acai bowls or nut butter where you can’t add extra liquid without ruining the result.
- Use the manufacturer-approved tamper tool that fits through the lid hole. For example, Vitamix owner manuals show how their tampers are sized to stop just above the spinning blades.
- Turn the machine on low speed.
- Push the tamper firmly into the four corners of the pitcher, driving food down toward the blade center.
- Increase the speed only after the blades bite into the food.
You’ll know it worked when the blades pull the ingredients down on their own. This varies by model — check the label or manual of your machine before trying this. If your blender didn’t come with a fitted tamper, never push a wooden spoon or spatula through the lid while the motor runs.
Layer your pitcher in the correct order
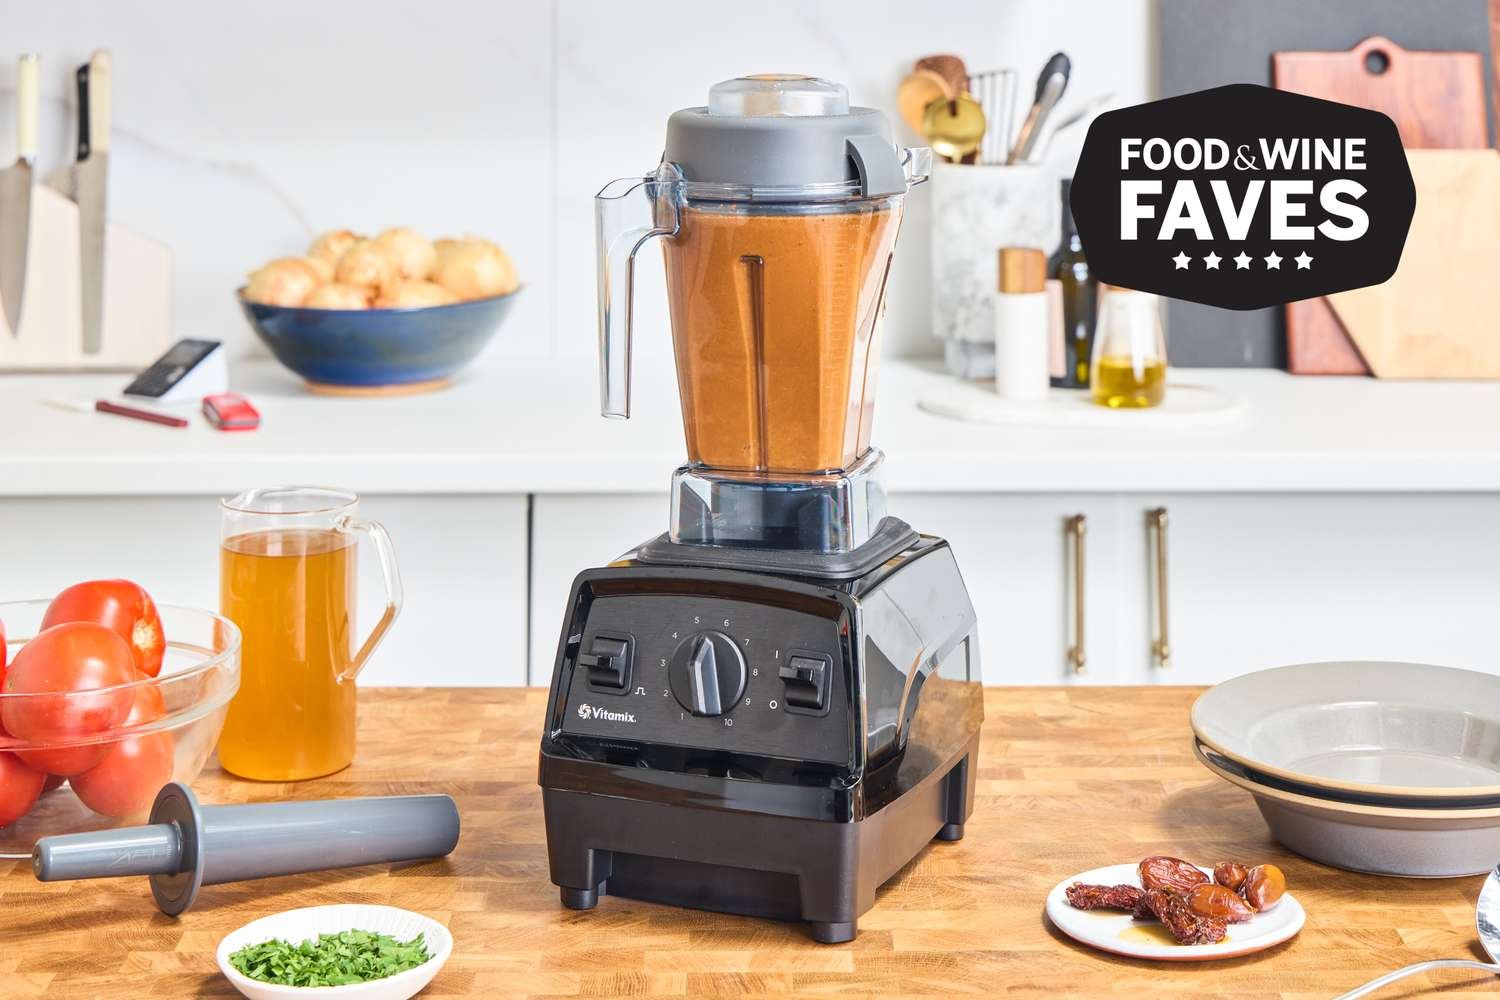
This fix is for whole batches of thick ingredients before you hit the start button. It takes an extra minute of prep, but it prevents cavitation entirely.
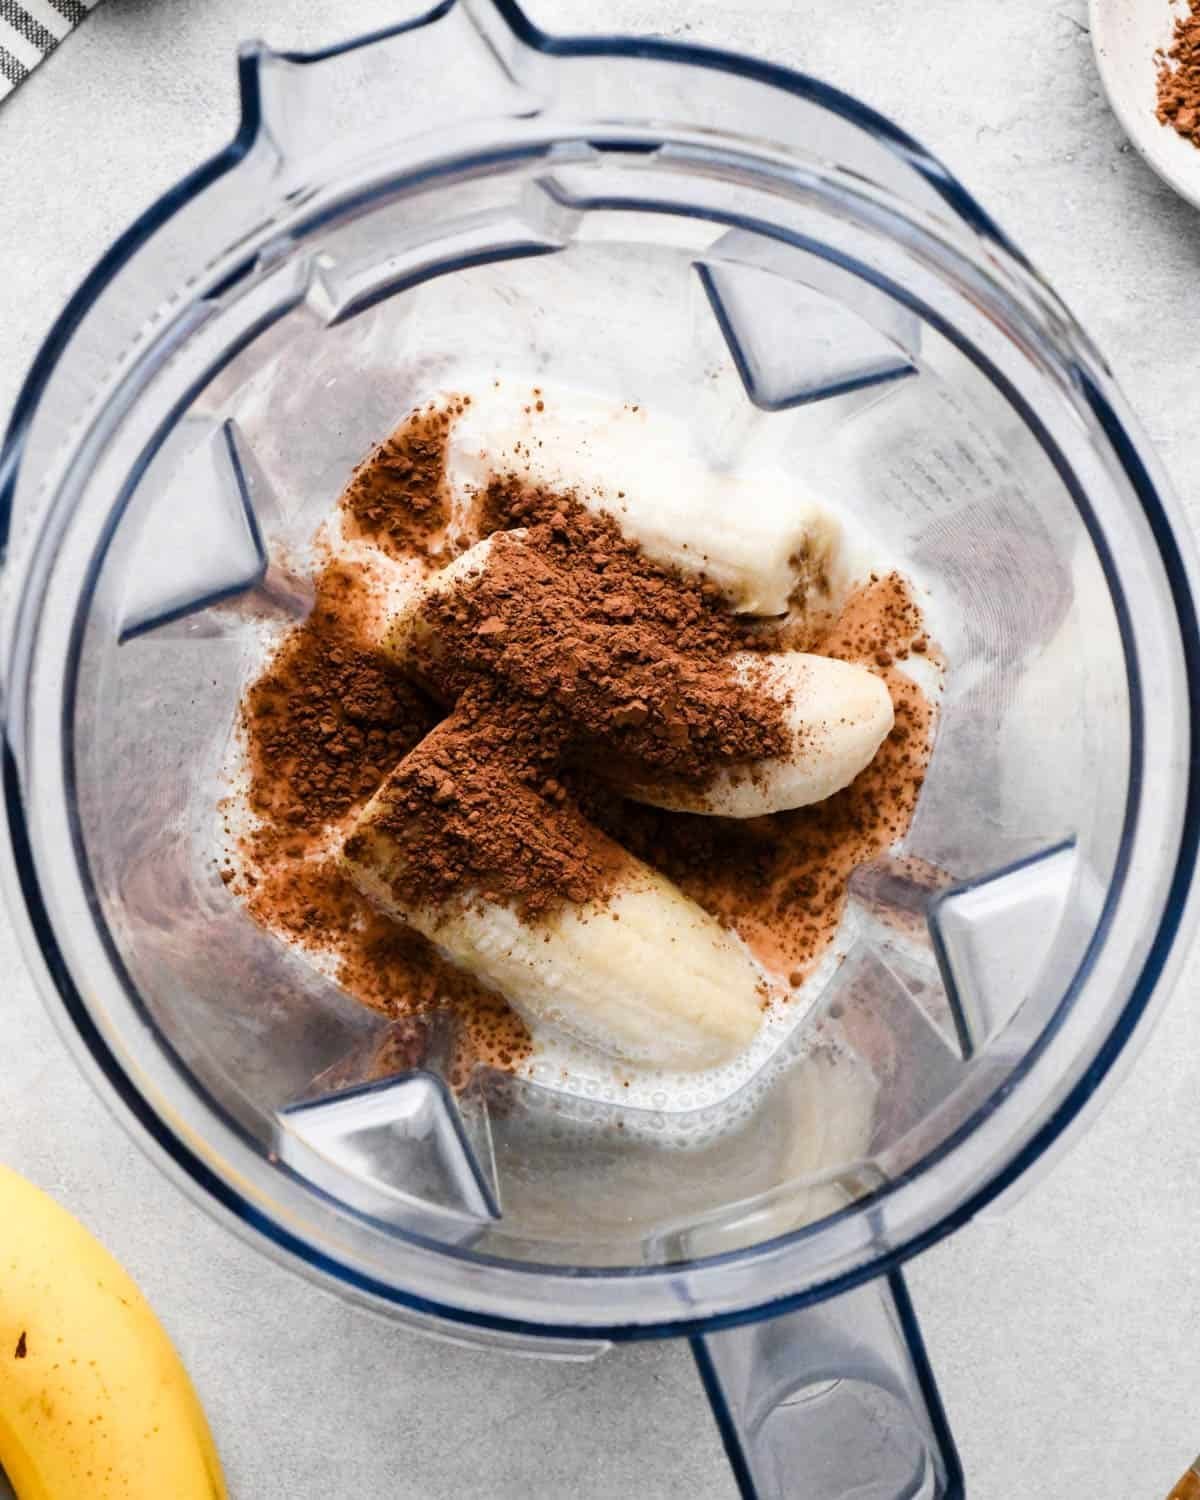
- Pour all liquids and soft ingredients (yogurt, oils, fresh fruit) into the bottom of the pitcher first.
- Add powders, leafy greens, and nuts in the middle layer.
- Put heavy, hard ingredients like ice cubes and frozen fruit at the very top.
The blades need soft matter to build momentum and pull the dense items down. If you put frozen chunks at the bottom, they jam the blade assembly instantly. A common mistake is dumping frozen fruit straight onto dry blades, which burns out the drive socket. A replacement drive gear costs extra money and takes days to arrive. Layering correctly fixes the problem before it starts.
What not to do
- Never stick a metal spoon or butter knife into the jar while the blades are moving, as the blades will strike the utensil and cause damage.
- Don’t run the blender on high speed when the food stops moving, since running dry causes the motor brushes to overheat and trip the internal thermal fuse.
- Avoid filling the pitcher to the top line with dense pastes, because the heavy drag strains the motor and stops the blades completely.
- Never lift the pitcher off the motorized base while the motor is still turning, as this strips the plastic teeth on the drive clutch.
How to stop it happening again
Adjusting your prep habits prevents motor strain and stops your blender from stalling.
| If you’re doing this | Do this instead | Why |
|---|---|---|
| Tossing whole frozen fruit into the jar | Chop frozen items into 1-inch chunks | Smaller pieces slide toward blades easily |
| Starting on the highest speed setting | Start on low, then dial up slowly | High speed throws food away from blades |
| Adding protein powder on dry blades | Dissolve powder in liquid first | Dry powder forms a thick crust at base |
| Blending cold nut mixtures straight away | Roast or warm nuts before blending | Warm nuts release oils faster for smooth flow |
| Using high speed for heavy kneading | Use brief pulses on medium speed | Continuous high speed overheats motor windings |
Frequently asked questions
Can a thick mixture burn out my blender motor?
Yes. Thick mixtures create heavy resistance against the blades. If the motor hums without turning, electricity continues flowing into the motor coils.
Why is my blender spinning but not blending?
Your blender formed an air bubble directly over the spinning blades. The blades spin freely in the empty pocket while the thick ingredients stay stuck to the jar walls. Turn off the machine, stir the mixture with a silicone spatula to collapse the bubble, and restart on low speed.
How long can I run a blender on thick recipes?
Run it for no more than 60 seconds continuously on heavy mixtures. Dense pastes strain the drive system. If the jar feels warm to the touch or you smell warm plastic, switch off the appliance and let the motor rest for at least 10 minutes to cool down.
Is it safe to use a rubber spatula while blending?
No. Never place a rubber spatula inside the blender jar while the motor is plugged in and running. If the blade clips the silicone head, it will damage the spatula and potentially the blender container. Always turn the blender off first.
What happens if I keep blending without enough liquid?
The ingredients will sit against the container walls while the blades spin dry. The friction between the blade seal and the jar base heats up quickly. Over time, running dry damages the blade bearings, melts the rubber drive coupling, and causes greasy black residue to leak out under the jar.
Final Thoughts
Once your ingredients are moving smoothly, you’ll find that creating your favorite recipes is much less of a chore. Don’t be afraid to experiment with different liquid bases like almond milk or yogurt next time. You’re ready to blend anything with confidence, so go ahead and enjoy your perfectly smooth creation.
Related guides