
How to stop replacing cheap blenders every year is simple: change your ingredient order and keep motor runs under sixty seconds.
Stop replacing your cheap blender so often
| What most people do | What to do instead | Why it matters |
|---|---|---|
| Load ice cubes first | Pour 1 cup of liquid first | Frozen ice cubes jam blades immediately |
| Run motor 2 minutes straight | Blend in 30-second bursts | Continuous running melts cheap motor windings |
| Toss in whole frozen bananas | Slice fruit into 1-inch chunks | Big frozen chunks strip drive gears |
| Wash base in dishwasher | Hand-wash blade assembly only | Heat degrades rubber watertight seals |
| Push food down with metal spoon | Stop motor, then scrape sides | Metal nicks blades and causes jams |
| Blend boiling soup immediately | Cool liquid below 120°F first | Steam pressure blows lids off jars |
Put liquids in the pitcher first
Pouring liquids like milk, water, or juice directly over the blades creates a fast vortex that pulls solid ingredients down smoothly. Stacking hard ice or heavy frozen fruit directly on dry blades locks them in place the moment you press start. When blades can’t turn, electricity still pours into the motor coil. That energy turns into instant heat, melting thin enamel wire coatings and ruining the machine.
Measure at least eight ounces of liquid before adding powders, leafy greens, or frozen items. This trade-off means thinner smoothies than a pure fruit bowl, but your machine will survive daily use. If you want a thicker mix, start with liquid, blend, and then add solid foods slowly through the lid opening.
Run in short pulses instead of continuous blending
Inexpensive small blenders use small universal motors cooled by tiny plastic fans attached directly to the drive shaft. Running the motor continuously for more than sixty seconds causes heat to build up faster than the fan can blow it out. The electrical safety standard UL 982 for motor-operated household food preparing machines sets basic temperature-rise limits, but budget designs still run hot during sustained heavy friction.
Run the motor in fifteen-second pulses for dense ingredients. If the pitcher contains only soft yogurt and berries, don’t exceed forty-five seconds of continuous run time. If the plastic housing feels warm to your hand or smells like hot electronics, turn it off immediately.
Stop washing blade assemblies in the dishwasher
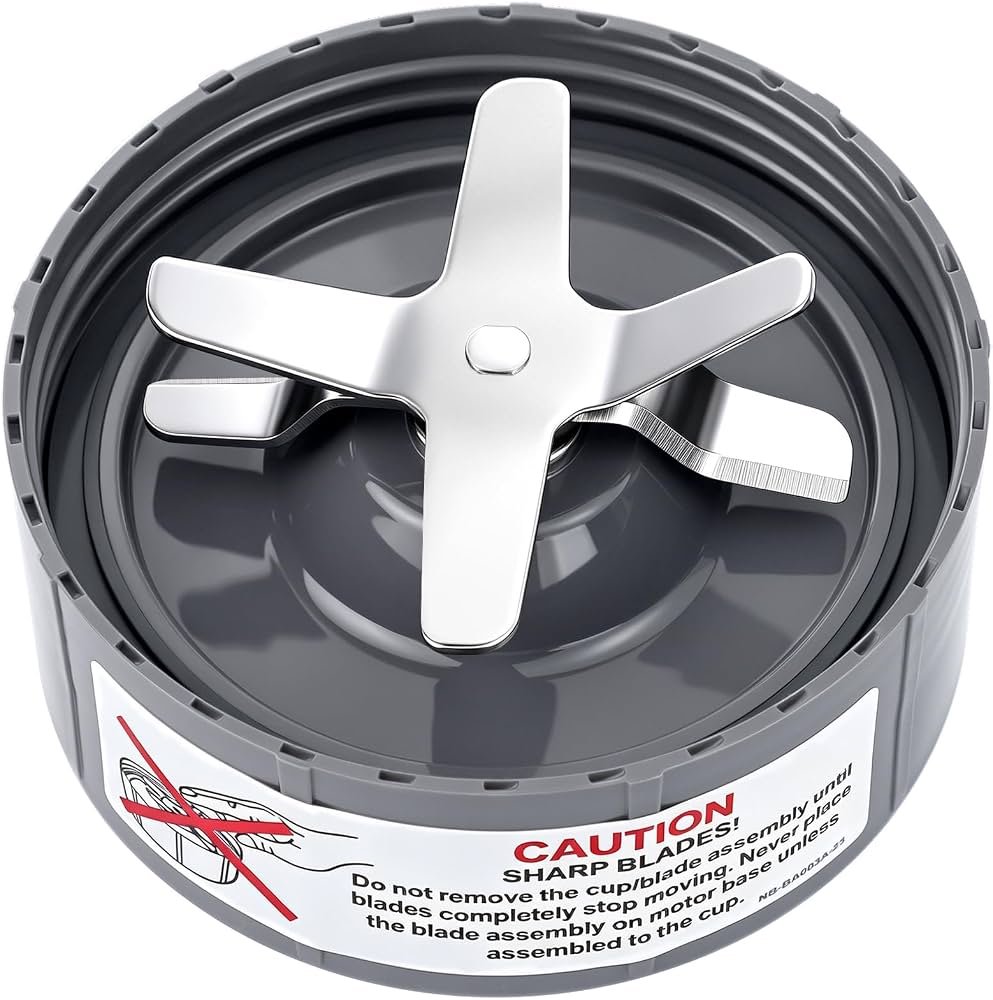
Hot water cycles and dry cycles inside automatic dishwashers ruin the rubber gasket and strip factory grease from the blade spindle. Once high heat shrinks the rubber ring, liquid seeps through the bottom bearing into the motor housing. That moisture rusts internal steel parts and triggers electrical shorts. In severe cases of bearing failure, the Consumer Product Safety Commission blender recall notices show that leaking motor units can crack, overheat, or smoke.
Clean the pitcher by hand right after blending. Fill the jar halfway with warm tap water, add two drops of standard dish liquid, and run the motor on low for twenty seconds. Rinse the pitcher under running water and dry the base upside down on a drying rack.
Advice you can ignore
- Crushing regular ice cubes without water: Inexpensive units lack the blade mass to pulverize dry cubes, and attempting it strips plastic teeth on the clutch.
- Sharpening blender blades with foil balls: Blender blades work through speed and blunt force impact, not razor sharpness, so foil merely dulls the metal.
- Storing the pitcher fully assembled on the base: Leaving the pitcher locked tight keeps continuous pressure on the rubber seal, which causes early leaks.
- Using full power to clear a stubborn jam: Hitting high speed during a jam sends maximum current to a stalled rotor, instantly burning out the motor.
The right way, start to finish
- Pour one cup of water, juice, or milk into the pitcher so the blades sit completely submerged in liquid.
- Cut hard foods, carrots, or apples into pieces no larger than one inch across using a sharp kitchen knife.
- Drop soft ingredients like yogurt, peanut butter, and leafy greens directly on top of the liquid base layer.
- Add frozen berries or chopped ice last, keeping the total volume below the pitcher’s maximum fill line.
- Press the lid down firmly until you hear the safety seal snap completely into place over the pitcher rim.
- Pulse the power button three times for two seconds each to crack the largest pieces of frozen fruit safely.
- Switch to continuous low speed for twenty seconds, checking that the ingredients move down in a smooth, continuous whirlpool.
- Unplug the blender base, pour your drink, rinse the pitcher with warm water immediately, and wipe the drive gear dry.
Frequently asked questions
Can you put ice cubes in a cheap blender?
Yes, but only if you add at least one cup of liquid first. Running ice dry against light metal blades jams the drive gear and melts the small motor inside budget housings.
Why does my blender smell like burning plastic?
The motor is overheating because the blade can’t spin freely or you ran it too long. Turn the unit off immediately, unplug it from the wall, and wait twenty minutes for it to cool down.
Is it safe to blend hot soup in a budget blender?
No, blending hot liquids creates sudden steam pressure that blows the lid off and splashes hot liquid across your arms. Let cooked vegetables cool down to room temperature before pouring them into the jar.
How long can I run a cheap blender without stopping?
Sixty seconds is the absolute limit for continuous blending on light-duty motors. If your drink needs extra mixing time, stop the motor, let it rest for thirty seconds, and then run it again.
What happens if you overfill a blender jar?
Liquid forces its way up under the lid gasket and spills down into the motor base. Always leave at least two inches of empty space below the pitcher rim so liquid has room to churn.
Does it matter what order you load ingredients?
Yes, putting liquids first lets the spinning blades pull solids down into the cutting path without stalling. Dropping heavy frozen fruit first jams the blades and quickly ruins the plastic drive gear.
Final Thoughts
Treat your machine like a delicate tool rather than a bottomless pit. If you start adding liquids first and layering ingredients with care, you won’t be shopping for a replacement anytime soon. It’s a simple habit that’ll keep your motor humming happily through every morning smoothie for years to come.