
Cleaning a compact toaster oven takes about 30 minutes: unplug it, wash the rack and tray in warm soapy water, then scrub the interior with a paste of 2 tablespoons baking soda and 1 tablespoon water. Wipe it out with a damp cloth and dry everything fully before you plug it back in.
What you’ll need before you start
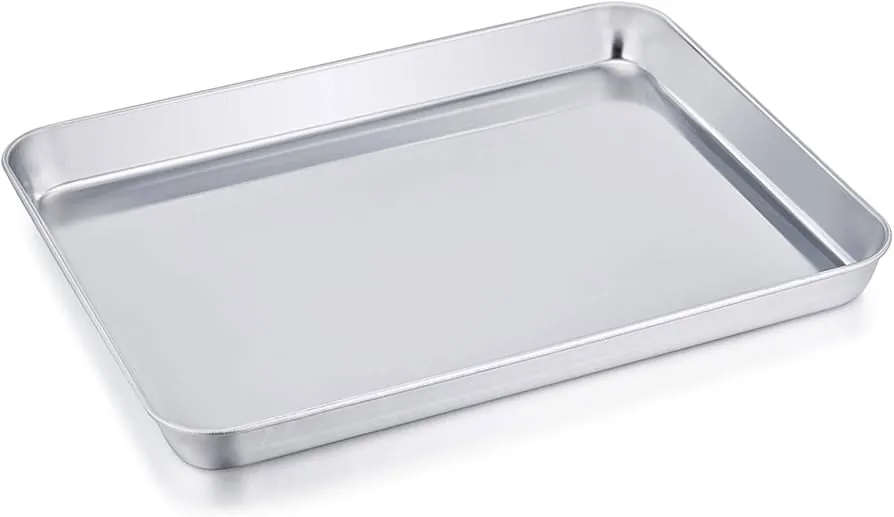
Gather everything first, so you’re not hunting for a cloth with paste drying on your hands. Most of this is already in your kitchen.
- Baking soda — about 4 tablespoons, for the interior paste
- Dish soap — a few drops in warm water for the rack and tray
- White vinegar — about 1 cup in a spray bottle, for glass and light mineral film
- Soft sponge and old toothbrush — the brush gets into the door tracks and corners
- Microfiber cloths — 2 or 3, one damp and one dry
- Rubber gloves — the paste dries out your skin
- The manufacturer’s manual — it tells you which parts are removable and which coatings you must not scrub
A nylon scraper works fine on baked-on spots. A metal scouring pad does not — it scratches the interior coating on most compact ovens, and that damage doesn’t come back.
How do I clean a compact toaster oven?
- Unplug the oven and let it cool for at least 30 minutes. A compact oven stays hot longer than you’d expect, and the elements hold heat after the light goes off. If you used it at 400°F, give it 45 minutes.
- Pull out the rack, tray, and crumb tray. Most compact models have all three. If your manual says a part isn’t removable, leave it in place and clean around it. Wash the removable parts in warm water with a few drops of dish soap, then set them aside to air dry.
- Brush out loose crumbs. Tip the oven over the sink or trash and use a dry cloth or the toothbrush on the corners. Do this before any liquid goes in — wet crumbs turn into a paste that’s harder to remove.
- Mix 2 tablespoons of baking soda with 1 tablespoon of water. Stir until it forms a thick paste. For a very greasy oven, add 1 more tablespoon of baking soda. Spread it on the interior walls and floor with your fingers or a cloth, but keep it off the heating elements.
Let the paste sit for 15 minutes. Longer isn’t better here — past 30 minutes it dries into a crust that’s harder to wipe off than the grease was. Tip: Don’t spread paste on the glass door if it has a printed safety warning or a coating; spray vinegar on the glass instead.
Wipe out the paste with a damp microfiber cloth. Rinse the cloth and repeat until no white residue is left. Leftover baking soda leaves a chalky film that smells and can affect how food tastes.
- Spray the glass door with white vinegar and wipe it dry. Vinegar cuts the baked-on film that makes the door look cloudy. Don’t spray it near the control panel or the vents.
- Clean the door seal and hinges with the toothbrush. Crumbs collect in the track and stop the door from closing flat. Wipe the seal with a damp cloth only — don’t soak it.
- Dry every part completely, then put it back and plug it in. Run the empty oven at 350°F for 10 minutes to burn off any vinegar smell before you cook food in it.
Careful: Never spray liquid directly into the oven or onto the heating elements.
Careful: If your oven has a self-clean setting, check the manual before using it.
If your oven won’t heat, the door won’t latch, or you smell burning plastic, stop. Those are technician jobs, not cleaning jobs. The interior wiring can still be live at the terminals even when the oven is unplugged, so never open the housing yourself.
How the job changes with your oven
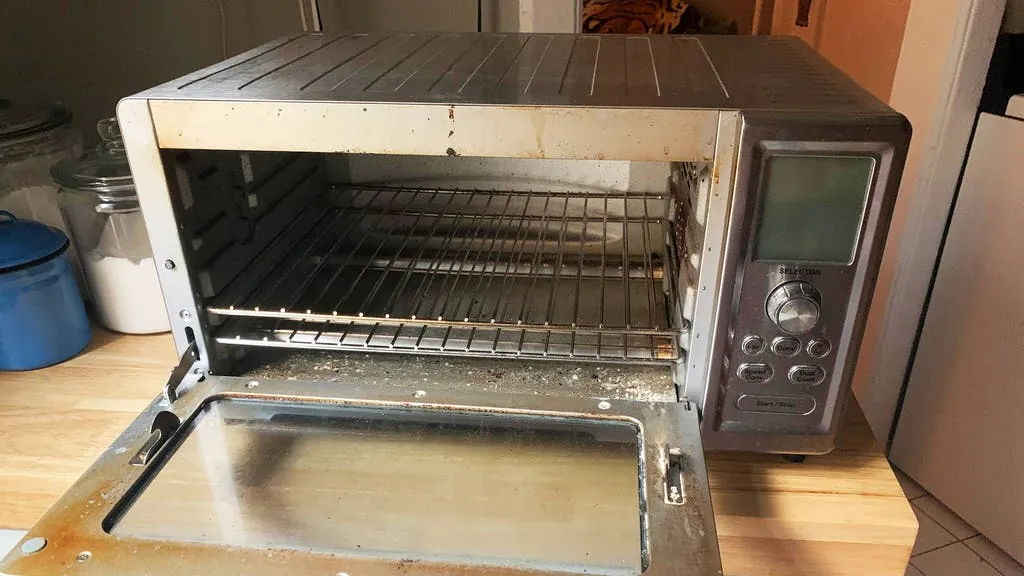
The time depends on how much baked-on grease you’re dealing with and how big the oven is. A quick wipe-down is 10 minutes; a heavy clean is closer to 45.
| Your situation | Time it takes | What’s different | What to watch |
|---|---|---|---|
| Light use, wiped weekly | 10-15 min | No soaking needed | Don’t skip the crumb tray |
| Normal use, monthly clean | 30 min | Full paste + 15 min soak | Rinse all paste out |
| Heavy grease, never cleaned | 45-60 min | Soak twice, 15 min each | Don’t scrape with metal |
| Nonstick interior | 30 min | No abrasive pads at all | Coating flakes if you scrub |
| Small 4-slice model | 20-25 min | Fewer surfaces to reach | Elements sit close to the walls |
| Large countertop model | 35-45 min | More surface area | Check the manual for removable parts |
Start with one round of paste and see what’s left. Adding a second round is easy; scrubbing off a scratched coating isn’t.
How to tell you got it right
A good result looks dull but even — no grease shine, no white powder, and the glass door is clear enough to see through. Run your finger along the inside wall: it should feel dry and slightly rough, not slick or tacky.
The quality problem this job is prone to is over-wetting. Liquid runs into the seams and the door hinge, sits there, and causes rust or an electrical fault later. It happens because people spray cleaner straight into the oven instead of onto a cloth. Three things prevent it: spray the cloth, not the oven; wring the cloth out until it’s barely damp; and dry every surface before you plug the oven back in.
Safety rules and what to do after
The main standard here comes from the manufacturer, not a government body — your manual lists which parts are removable and which cleaners are safe for your coating. Follow it over any general advice, including this article. Reheated leftovers should reach 165°F, but that’s a cooking rule, not a cleaning one.
After cleaning, put the rack, tray, and crumb tray back, close the door, and wipe the outside with a damp cloth. Record the date if you like a schedule. A monthly deep clean plus a weekly crumb-tray shake keeps a compact oven in good shape; a heavily used oven needs the deep clean every two to three weeks.
Other ways to do it
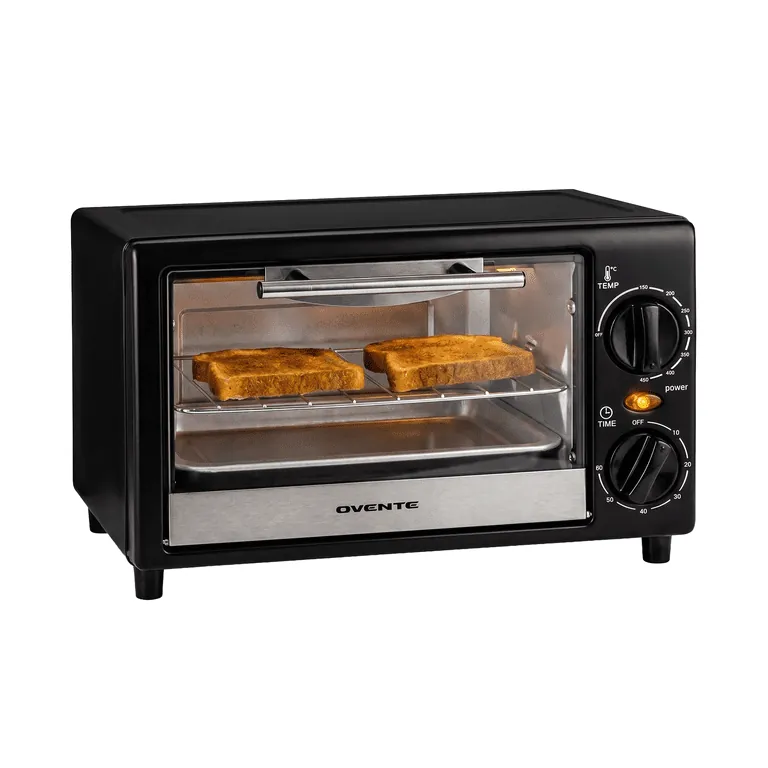
Steam clean with a bowl of water
Put an oven-safe bowl with 1 cup of water and 2 tablespoons of vinegar on the rack, and run the oven at 300°F for 15 minutes. The steam loosens grease so you can wipe it off.
Use a commercial oven cleaner
Spray-on oven cleaners cut grease with less scrubbing. Check the label first — many contain lye and aren’t safe for nonstick or aluminum interiors.
Clean only the parts you can remove
If you’re short on time, wash the rack, tray, and crumb tray in the sink and wipe the interior with a damp cloth. Ten minutes, no paste, no soaking.
Related guides
- Monsga Cordless Vacuum Cleaner: Powerful, Smart, and Efficient Cleaning Solution
- How to Clean Smelly Dish Towels: Quick & Easy Odor Fixes
- Best Steam Wand Cleaning Brush: Top Picks And Tips
Frequently asked questions
Can I clean a toaster oven with vinegar?
Yes, for glass, light grease, and mineral film. Mix equal parts white vinegar and water in a spray bottle, spray it on a cloth, and wipe. Vinegar is too weak for heavy baked-on grease — use the baking soda paste for that. Never spray vinegar near the control panel or heating elements.
How long does it take to clean a compact toaster oven?
About 30 minutes for a normal monthly clean, including a 15-minute soak. A light weekly wipe takes 10 to 15 minutes. A heavily greased oven that hasn’t been cleaned in months takes 45 to 60 minutes, because you’ll need two rounds of paste and two 15-minute soaks.
Is it safe to use baking soda inside a toaster oven?
Yes, on the interior walls and floor. Keep it off the heating elements and out of the vents. Rinse it out completely — leftover powder burns on the next use and leaves a smell. Don’t use it on a nonstick interior with an abrasive pad; your fingers or a soft cloth are enough.
What happens if I don’t clean the crumb tray?
Crumbs build up, sit against the hot element, and can smoke or catch fire. A dirty tray also makes the oven smell every time you use it. Empty it weekly and wash it with soap and water.
How often should I deep clean it?
Every 2 to 3 weeks for daily use, or monthly for occasional use. Wipe the interior and shake out the crumb tray weekly. If you cook greasy food like bacon or cheese dishes often, clean it more often — grease builds faster than crumbs.
Can I put the rack and tray in the dishwasher?
Usually yes, if the manual says they’re dishwasher safe. Most metal racks and trays are. Trays with a nonstick coating may lose that coating over time in a dishwasher, so hand washing is safer. Check your manual, since coatings vary by brand.
What if the oven still smells after cleaning?
Grease is probably still in the door track, the hinge, or under the elements. Wipe those spots with a damp cloth and a little dish soap, then run the empty oven at 350°F for 10 minutes with the window open. If the smell is plastic or electrical rather than burnt food, stop using it and call a technician.
Conclusion
A clean compact toaster oven heats more evenly, smells better, and lasts longer. The whole job is 30 minutes once a month, and the crumb tray takes ten seconds. Do that much, and the deep clean never turns into a fight.