Use a stripper, heat, or sanding—choose by paint type, cabinet material, and safety needs.
I’ve removed paint from dozens of kitchen cabinets and taught homeowners how to do it safely and efficiently. This guide on How To Remove Paint From Kitchen Cabinets walks you through testing for lead, choosing the right method, protecting wood, and refinishing for a pro look. Read on for clear steps, tools, and real-world tips that save time and avoid costly mistakes.
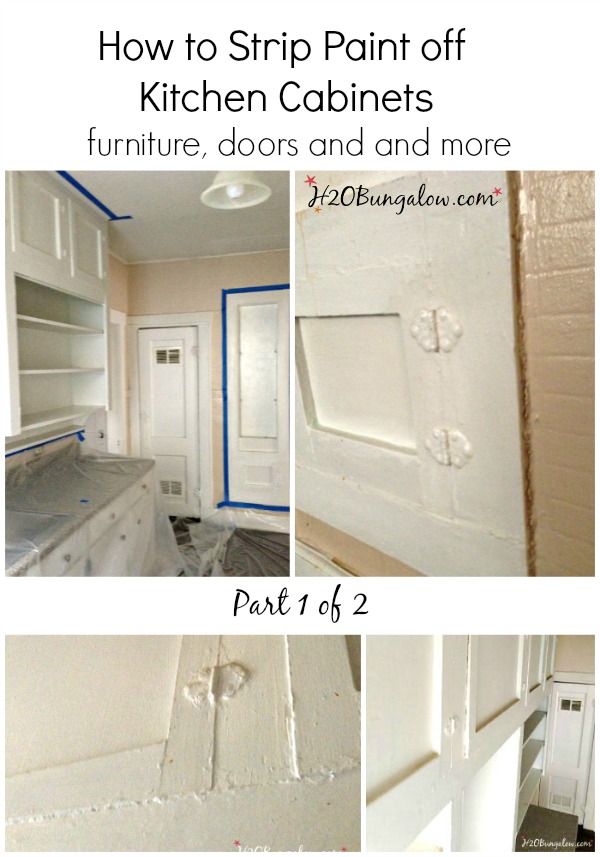
How To Remove Paint From Kitchen Cabinets: Assess the Job
Start by inspecting the cabinets and paint. Note the cabinet material (solid wood, veneer, MDF), the paint type (latex, oil, enamel), and the paint condition (flaking, multiple layers, smooth). Testing for lead is essential on homes built before 1978; a do-it-yourself lead test kit gives a quick answer, and a pro test gives certainty.
Decide whether full removal is necessary or if sanding and repainting over a stable surface will work. Full removal is worth it when multiple paint layers cause surface problems or when you want a stained wood finish.

Will paint removal damage my cabinets?
If done carefully, no. Choose gentler methods for thin veneers and use controlled sanding on solid wood to avoid gouging.
How do I know if paint contains lead?
Use a certified lead test kit or hire a professional for lab-style testing; visible clues aren’t reliable. If lead is suspected, follow lead-safe work practices and consider professional abatement.
How To Remove Paint From Kitchen Cabinets: Tools and Materials
Gather equipment before you begin to work efficiently and safely. Common items include:
- Chemical paint stripper (citrus-based or caustic formulas)
- Heat gun with variable temperature settings
- Putty knives and plastic scrapers
- Sandpaper in 80, 120, and 220 grits and sanding blocks
- Power sander (orbital) for large flat surfaces
- Respirator rated for organic vapors and fine dust
- Nitrile gloves, safety glasses, and work clothes
- Drop cloths, plastic sheeting, painter’s tape, and masking paper
- Mineral spirits or denatured alcohol for cleanup
- Wood filler, grain sealer, primer, stain, and topcoat materials
Keep a waste container and proper disposal bags on hand for used stripper and paint chips.

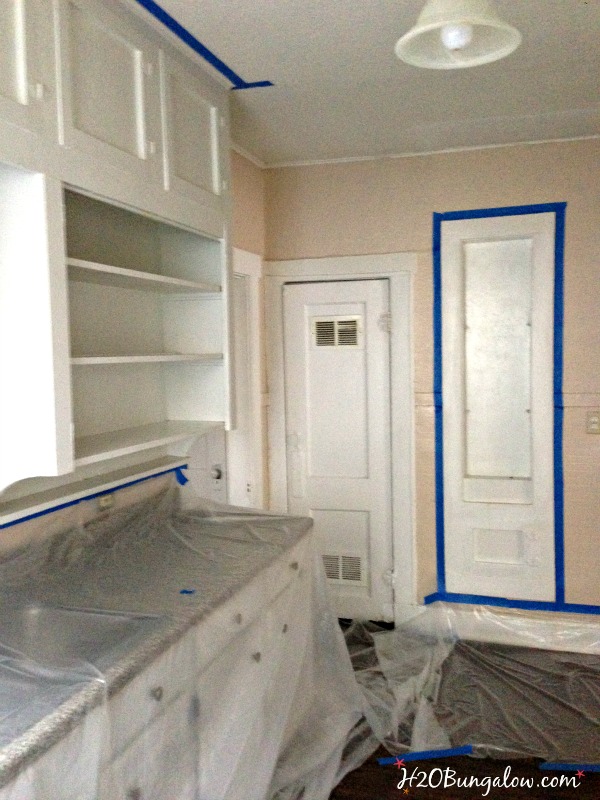
How To Remove Paint From Kitchen Cabinets: Preparation and Safety
Good prep halves the work and protects your health. Work in a well-ventilated area or outside if possible. Remove doors, drawers, and hardware and label each piece so reassembly is easy. Lay out drop cloths and use plastic to block off other rooms from dust and chips.
Wear a respirator, gloves, and eye protection. If the paint may contain lead, do not use a heat gun or dry sanding. Instead, use wet methods, chemical strippers labeled for lead-safe work, or hire a certified contractor.
How To Remove Paint From Kitchen Cabinets: Method 1 — Chemical Stripper
Chemical stripping works well on detailed moldings and multiple paint layers. Choose a stripper suited to the paint type: solvent or caustic for tough oil-based paints, citrus or low-VOC formulas for less aggressive work. Read and follow the label for dwell time and safety.
Step-by-step:
- Work outside or in very open spaces and ventilate well.
- Apply stripper with a brush in a thin, even coat.
- Wait the recommended time until paint softens and bubbles.
- Scrape gently with a plastic scraper, then clean residue with steel wool and mineral spirits.
- Neutralize caustic strippers as instructed and dispose of waste safely.
Pros: gentle on wood detail and effective on thick layers. Cons: messy, time-consuming, and needs careful disposal.

How To Remove Paint From Kitchen Cabinets: Method 2 — Heat Gun
A heat gun melts paint so it can be scraped away. This is fast for flat or thick painted surfaces but risky for thin veneer and older homes with lead paint. Use a low to medium setting and keep the gun moving to avoid scorching.
Step-by-step:
- Set gun to 500–700°F for most paints, reduce heat for delicate areas.
- Hold the gun 2–4 inches from the surface and heat until the paint softens.
- Scrape softened paint with a flexible scraper at a shallow angle.
- Clean residue with mineral spirits and sand lightly.
Pros: fast and chemical-free. Cons: can burn wood, raise fumes, and is unsafe with lead paint.

How To Remove Paint From Kitchen Cabinets: Method 3 — Sanding
Sanding is straightforward and useful after stripper or heat work. For raw removal, start with coarse grit on thick paint and finish with fine grit for a smooth surface. Avoid sanding through veneers. Use a dust collection system and wear a respirator.
Step-by-step:
- Start with 80–100 grit to remove bulk paint, then 120 grit to smooth.
- Finish with 220 grit before staining or priming.
- Use hand sanding for edges and corners to preserve detail.
- Clean all dust with a tack cloth and vacuum.
Pros: simple and predictable. Cons: dusty and labor-intensive; risky with lead paint.
How To Remove Paint From Kitchen Cabinets: Method 4 — Gentle and Eco-Friendly Options
For minor spots or environmentally conscious work, try these alternatives:
- Citrus or soy-based low-VOC strippers for less odor and easier cleanup.
- Heat-assisted infrared paint removers that work cooler than a heat gun.
- Soaking small parts in a mild alkaline solution or paint remover tubs.
- Scrape after softening with a plastic scraper and finish with light sanding.
These methods often take longer but reduce harsh fumes and chemical exposure.

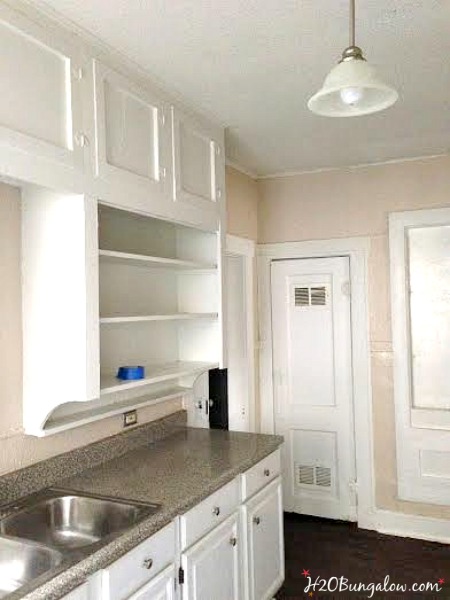
How To Remove Paint From Kitchen Cabinets: Repairing and Refinishing
Once paint is removed, inspect wood for damage. Fill gouges and nail holes with wood filler, sand smooth, and use a grain sealer when staining. Choose a primer compatible with your topcoat: oil-based primer for stained wood you’ll paint, or stain-blocking primer for tannin-rich woods.
For refinishing:
- To stain: use wood conditioner on softwoods, apply stain, then seal with a clear topcoat.
- To repaint: prime, sand lightly between coats, and finish with two thin topcoats for durability.
- Consider using semi-gloss or satin durable finishes for kitchen cabinets.

How To Remove Paint From Kitchen Cabinets: Common Problems and Troubleshooting
Paint won’t come off easily
- Try a different stripper or combine heat and chemical methods. Test in an inconspicuous spot first.
Blotchy wood after removal
- Wood “ghosting” from old stain or tannins may require sanding and wood bleach or a stain-blocking primer.
Glue or varnish residue
- Use mineral spirits or a specialized varnish remover; follow with fine sanding.
Lead paint risk
- If you find or suspect lead, stop and follow lead-safe protocols or hire a certified contractor for removal.
How To Remove Paint From Kitchen Cabinets: Cost and Time Estimates
Small door and drawer set for a DIY paint removal project typically takes 1–3 days. Expect 2–6 hours per cabinet door depending on method and detail. Material cost ranges:
- Chemical stripper and supplies: $25–$150.
- Heat gun and sanders (if not owned): $50–$150 rental or higher purchase cost.
- Professional removal: $200–$800+ depending on scope and lead testing.
Plan extra time for sanding, repairs, and drying between steps.
How To Remove Paint From Kitchen Cabinets: Personal Experience and Practical Tips
From my projects, a combo approach works best: strip deep layers, use a heat gun for stubborn areas, and finish with sanding. Label every door and hinge—this saved me hours and headaches during reassembly. Test a method on the back of a drawer first to confirm results.
Mistakes to avoid:
- Rushing and overheating, which scorches edges.
- Skipping lead testing in older homes.
- Not using a respirator during sanding or stripping.
A patient, staged approach produces the cleanest results and preserves cabinet value.
Frequently Asked Questions of How To Remove Paint From Kitchen Cabinets
How long does it take to remove paint from one cabinet door?
Most cabinet doors take 1–3 hours depending on method and paint layers. Intricate details and multiple layers add time.
Can I remove paint and stain the same cabinets?
Yes. Remove paint fully, repair surface, sand to bare wood, and follow with stain and clear finish or use a stain-blocking primer if residual color remains.
Is it cheaper to hire a professional to remove paint?
Hiring a professional costs more up front but can save time and reduce risk, especially with lead paint or delicate veneers. Compare quotes and scope before deciding.
What safety gear do I need for paint removal?
Wear a respirator rated for dust and organic vapors, safety glasses, gloves, and protect clothing. Ensure good ventilation and contain debris to avoid contamination.
Can I use a chemical stripper on veneered cabinets?
Use mild stripper or avoid chemicals that saturate veneer. Test on an inconspicuous area first and favor heat or light sanding for veneers.
Conclusion
Removing paint from kitchen cabinets is a manageable task with the right plan, tools, and safety steps. Start by assessing surfaces, test for lead, choose a method that matches the cabinet material, and take your time with repairs and finishing. Armed with these steps and practical tips, you can revive cabinets to look natural or deliver a fresh painted finish. Try a small test panel, apply one method at a time, and share your progress or questions below — I’d love to hear how your project goes.