Are you craving a quick and tasty snack but don’t want to leave your seat? Popping popcorn in your microwave oven is the fastest way to satisfy those hunger pangs.
But did you know that doing it right can make a huge difference in taste and texture? In this guide, you’ll discover simple steps to make perfect popcorn every time—crispy, fluffy, and bursting with flavor. Keep reading, and you’ll never settle for burnt or chewy popcorn again!
Choosing The Right Popcorn
Choosing the right popcorn is the first step to making great microwave popcorn. The type of popcorn affects taste, texture, and popping success. Picking good popcorn ensures a tasty snack without burnt pieces or many unpopped kernels.
Not all popcorn is the same. Different kinds suit different tastes and cooking styles. Knowing your options helps you enjoy every bite.
Types Of Microwave Popcorn
Microwave popcorn comes in bags or loose kernels. Ready-to-use bags have oil and seasoning inside. They are quick and easy to use. Loose kernels need a microwave-safe bowl or popcorn maker. These let you control oil and flavor amount.
Some popcorn bags are butter-flavored. Others are plain or lightly salted. Choose based on your flavor preference. Some brands offer organic or non-GMO popcorn for a healthier choice.
Selecting Kernels For Best Results
Look for fresh kernels with a shiny, hard shell. Old kernels may not pop well. Buy popcorn from stores with good turnover. Store kernels in a cool, dry place to keep freshness.
Smaller kernels usually pop faster and more evenly. Larger kernels make bigger, fluffier popcorn but take longer to pop. Experiment to find what you like best.

Credit: downshiftology.com
Preparing Your Microwave
Preparing your microwave is an important step before popping corn. A clean and well-set microwave helps the popcorn cook evenly. It also prevents any smells or old food residues from affecting the popcorn taste.
Cleaning And Setting Up
Start by wiping the inside of the microwave with a damp cloth. Remove any food crumbs or spills. This stops smoke or burning smells during popping. Make sure the turntable spins freely and is placed correctly. A clean microwave heats better and cooks popcorn evenly.
Using The Right Container
Choose a microwave-safe bowl or popcorn popper. Avoid metal containers as they can cause sparks. Glass or microwave-safe plastic bowls work best. Use a bowl with a vented lid or cover with a microwave-safe plate. This helps steam escape, keeping popcorn crispy and fresh.
Step-by-step Popping Process
Popping popcorn in the microwave is quick and fun. Follow these simple steps for perfect popcorn every time. Each step helps make sure the kernels pop fully without burning. Enjoy fresh, warm popcorn in just a few minutes.
Measuring The Kernels
Start by measuring the right amount of popcorn kernels. Use about 1/4 cup of kernels for one serving. Too many kernels can cause burning or uneven popping. Use a dry bowl or a microwave-safe container to hold the kernels.
Setting The Microwave Timer
Place the container in the microwave and set the timer. Start with 2 to 3 minutes on high power. Microwave ovens vary, so adjust the time for your machine. Avoid using the popcorn button as it may not suit all microwaves.
Listening For The Pops
Listen carefully as the popcorn pops. The popping sound will slow down after a while. Stop the microwave when the pops are 2 seconds apart. This prevents burning and keeps the popcorn fresh and tasty.
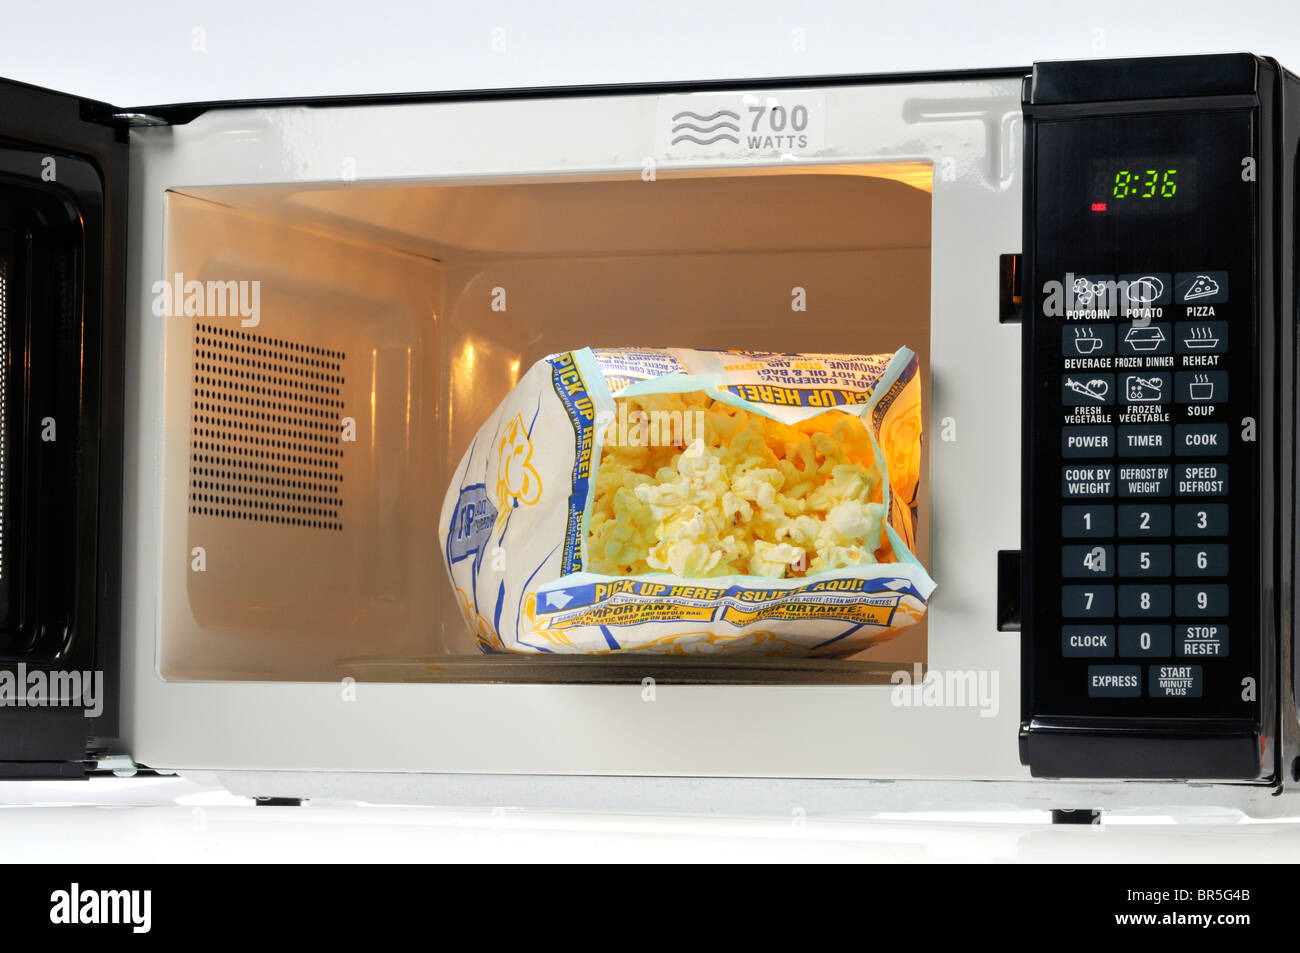
Credit: www.alamy.com
Tips For Perfect Popcorn
Making perfect popcorn in the microwave is easy with a few smart tips. These tips help you get fluffy, tasty popcorn every time. Avoid burnt bits and unpopped kernels for a great snack.
Avoiding Burnt Kernels
Burnt kernels spoil the popcorn taste. Use the popcorn button on your microwave if it has one. Listen closely to the popping sound. Stop the microwave when pops slow down to 2-3 seconds apart. This prevents burning and keeps most kernels popped.
Adjusting Time For Different Microwaves
Microwaves vary in power and size. Start with the recommended time on the popcorn bag. Add or reduce 10-15 seconds based on your microwave’s strength. Watch the popcorn closely during the last few seconds. Adjust time little by little until you find the perfect pop time for your microwave.
Flavoring Your Popcorn
Flavoring your popcorn makes a simple snack exciting and tasty. You can keep it classic or try new tastes. Small changes create big flavor differences. This guide helps you enjoy popcorn like never before.
Butter And Salt Options
Butter and salt are the most common popcorn flavors. Melt butter and drizzle it evenly over hot popcorn. Use a spoon or a spray bottle for easy spreading. Sprinkle salt to taste. Sea salt or kosher salt gives a nice crunch and flavor.
Try mixing melted butter with garlic powder or paprika for a little twist. Use clarified butter to avoid soggy popcorn. Toss popcorn gently to coat all pieces. This method keeps popcorn fresh and tasty.
Creative Seasoning Ideas
Season popcorn with spices for a fun snack. Sprinkle cinnamon and sugar for a sweet treat. Add chili powder and lime for a spicy kick. Parmesan cheese and Italian herbs make a savory option.
Use nutritional yeast for a cheesy flavor without dairy. Try ranch seasoning or taco spice mix for variety. Mix your favorite herbs with olive oil, then toss popcorn. Experiment with flavors to find your favorite blend.
Troubleshooting Common Issues
Making popcorn in the microwave seems easy but can cause some common problems. These issues can spoil your snack and waste kernels. Knowing simple fixes helps you get perfect popcorn every time.
Unpopped Kernels
Unpopped kernels often mean uneven heat or old popcorn. Make sure your microwave power is high enough. Use fresh popcorn for better popping. Spread the kernels in a single layer in the bag. Avoid using a bag that is too full.
Try shaking the bag gently halfway through popping. This moves kernels and helps heat reach all of them. Stop the microwave as soon as popping slows to two seconds between pops. Overcooking leaves many kernels unpopped.
Soggy Or Burnt Popcorn
Soggy popcorn happens if steam gets trapped inside the bag. Open the bag for a few seconds after popping to release moisture. Avoid using a microwave-safe container without vents. Burnt popcorn means cooking for too long or using too high heat.
Set the microwave timer carefully. Use the popcorn button but watch closely. Stop the microwave early if popping slows down. Use microwave-safe popcorn bags or containers for best results.
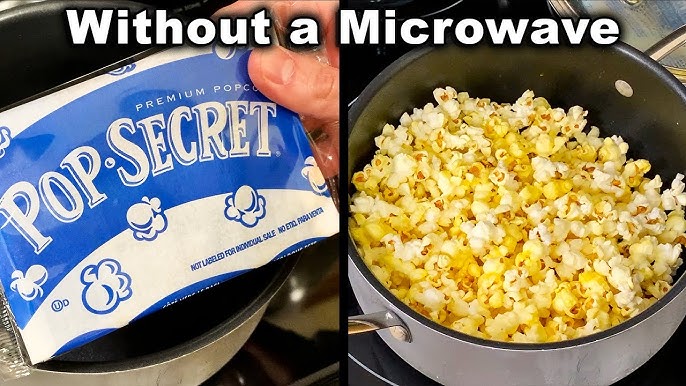
Credit: www.youtube.com
Frequently Asked Questions
How Long Does It Take To Pop Popcorn In A Microwave?
Popping popcorn in a microwave typically takes 2 to 4 minutes. Exact time depends on your microwave’s power and the popcorn brand. Listen for popping to slow to 2-3 seconds between pops. This indicates the popcorn is ready and prevents burning.
Can You Pop Popcorn Without A Microwave-safe Bag?
Yes, you can pop popcorn without a bag. Use a microwave-safe bowl with a microwave-safe plate on top. Add popcorn kernels and heat in short intervals, stirring occasionally. This method is effective and allows you to control added flavors.
What Microwave Settings Are Best For Popping Popcorn?
Use the “Popcorn” setting if available, or high power for 2-4 minutes. Monitor the popping closely to avoid burning. Adjust time based on your microwave’s wattage and popcorn amount. Lower power may result in unpopped kernels.
How Do You Prevent Burnt Popcorn In The Microwave?
Stop the microwave when popping slows to 2-3 seconds between pops. Avoid overheating by using recommended time and power settings. Use a microwave-safe container with a lid to distribute heat evenly. Stirring halfway can also reduce burning.
Conclusion
Popping popcorn in the microwave is quick and simple. Just follow the steps carefully for best results. Use the right time and power settings to avoid burning. Listen for the popping to slow before stopping the microwave. Enjoy fresh, warm popcorn anytime without extra tools.
Perfect for snacks, movies, or a quick treat. Practice a few times to get your perfect batch. Easy and fun for everyone to try at home.