
A brand-new coffee maker usually needs one cleaning cycle before its first brew: a full water run with plain water, or a mix of equal parts water and white vinegar, taking about 10 to 20 minutes from start to finish. That short job clears out manufacturing dust, plastic taste and leftover residue inside the tank and lines. Skipping it’s why a first cup can smell like a new appliance instead of coffee.
What You’ll Need Before You Start
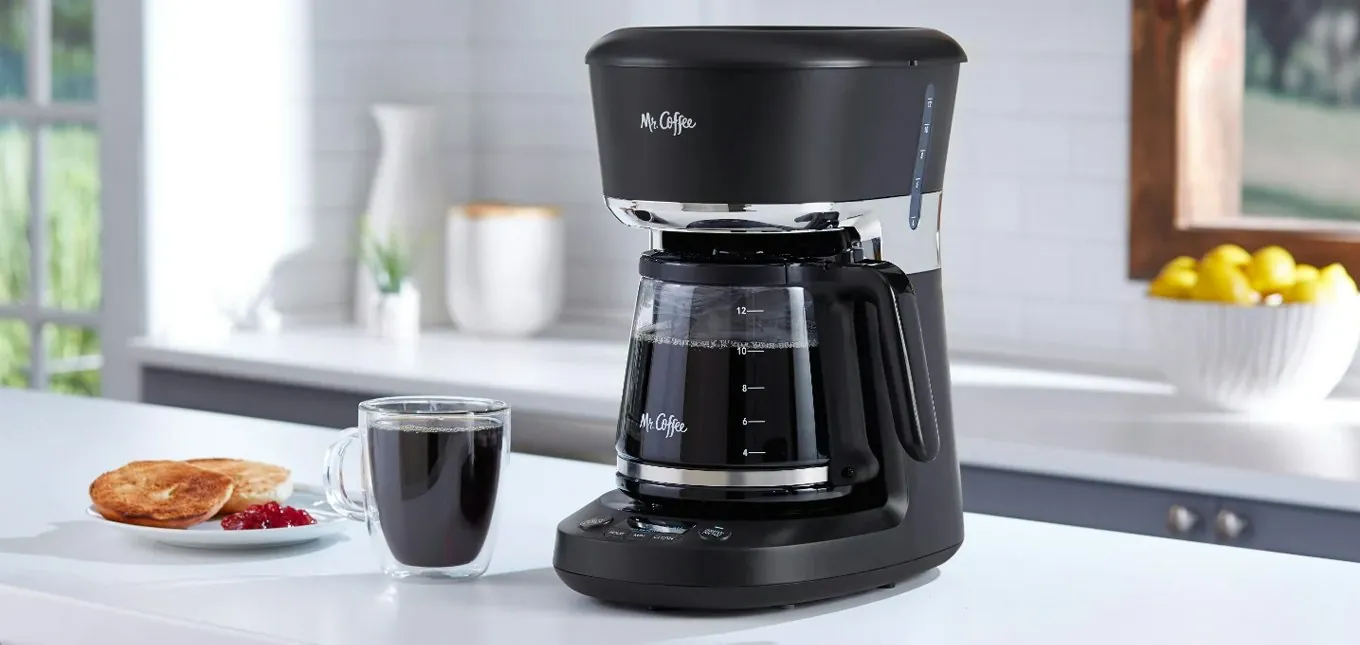
Gather everything first so you don’t stop halfway through the cycle.
- Cool or room-temperature water — enough to fill the reservoir to its top line
- White vinegar (only if your manual suggests it, or if the plastic smell is strong)
- A clean cloth or paper towel
- A mug or bowl to catch the water
- Your owner’s manual, if you still have it
Check the manual for one thing above all: whether the maker allows vinegar. Most drip machines do, but some brands with sealed water lines or built-in filters say to use water only or a specific descaling product. If the manual bans vinegar, use plain water cycles instead. That’s the whole rule — if the book says no, don’t.
How Do You Clean a New Coffee Maker?
Wipe the outside and the basket first. A damp cloth removes dust from the housing, the carafe and the filter basket. Don’t put the carafe or any removable plastic part in the dishwasher unless the manual says it’s safe.
Fill the reservoir with cool water to the max line. Use fresh water, not hot.
Add vinegar only if your manual allows it. For a strong plastic smell, mix equal parts water and white vinegar — about half a cup of vinegar to half a cup of water for a small machine. For a normal first clean, plain water is enough.
Run a full brew cycle with no coffee and no filter. Put the empty carafe or a mug under the spout and start it. You’re flushing the inside of the tank, the tubing and the shower head.
Let it cool for 5 minutes, then repeat with plain water. One water-only cycle after a vinegar cycle rinses out the vinegar taste. If you used only water the first time, one more cycle is still a good idea.
Rinse the carafe, basket and filter holder by hand. Warm water and a little dish soap, then rinse well. These parts touch your coffee directly, so they matter most.
Dry everything and run one more plain water cycle if you still smell vinegar. Then brew your first real pot. The first cup or two may taste slightly weak — that’s normal and it fades.
Tip: If you used vinegar, run at least one full plain-water cycle afterward. Vinegar left in the lines makes the next few pots taste sour.
How Long Does It Take, and How Much Water or Vinegar?
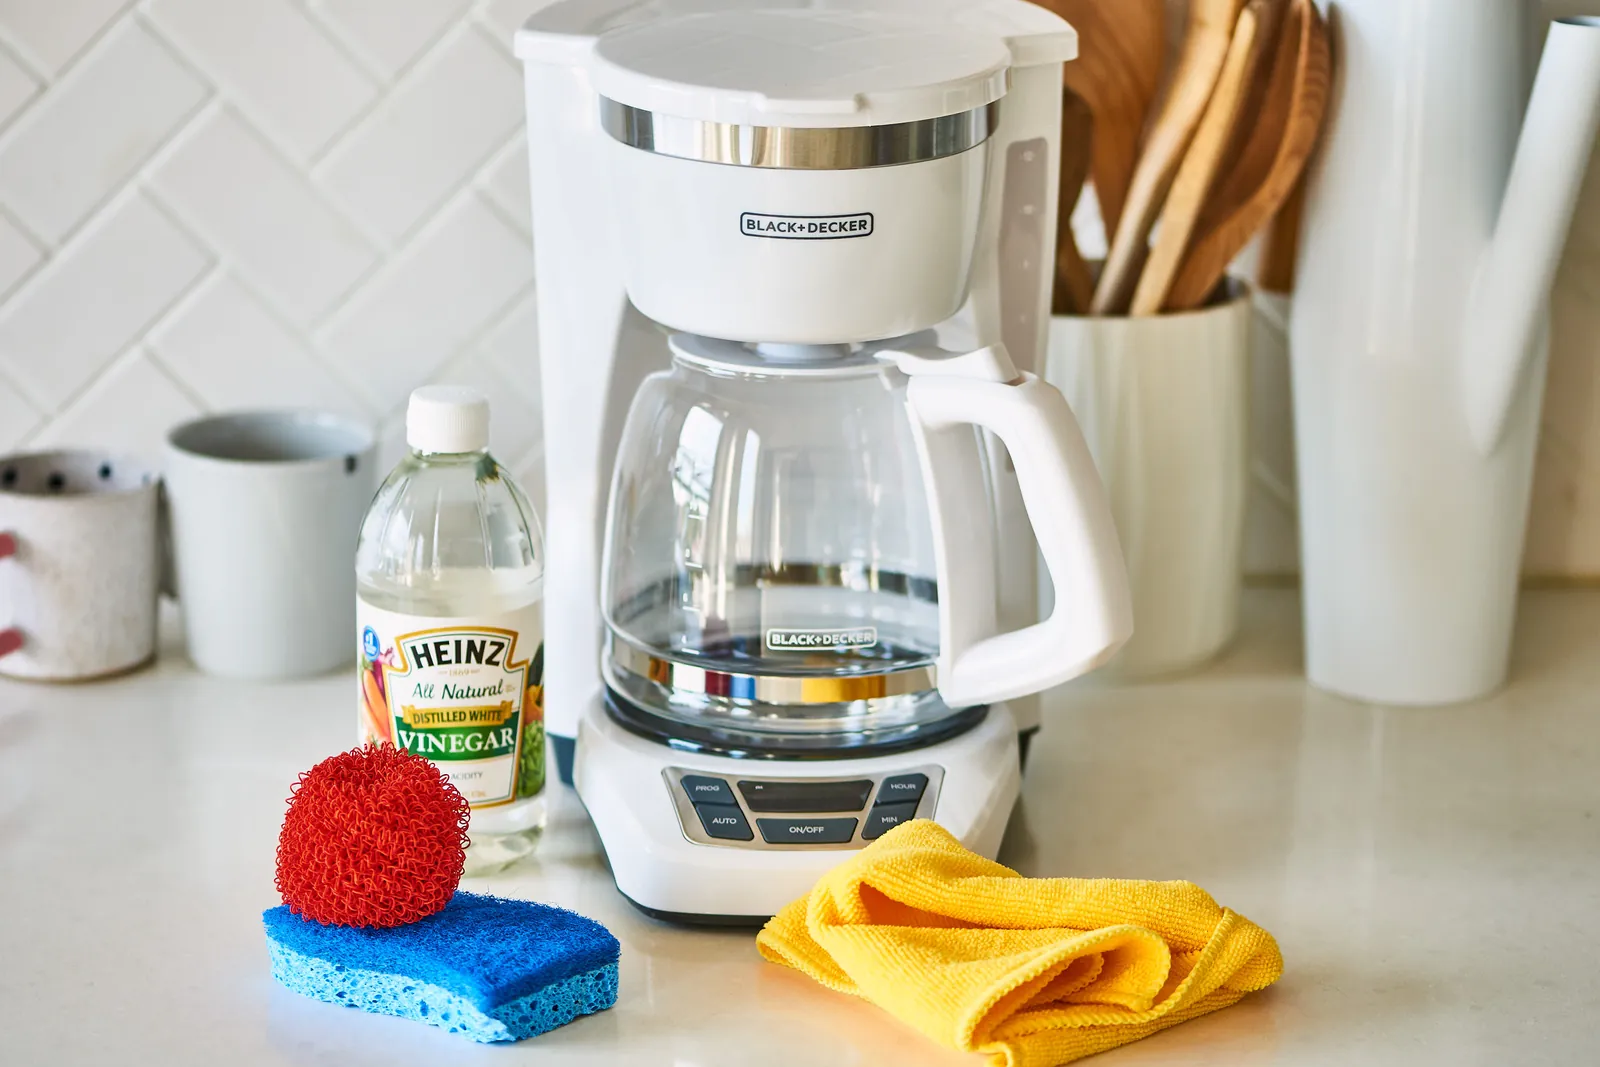
The full job runs 10 to 20 minutes, mostly waiting time. The table below shows how the numbers change with machine size and how dirty or smelly the new unit is.
| Machine size | Water for the first cycle | Vinegar (if allowed) | Number of cycles | Total time |
|---|---|---|---|---|
| Small (5-cup) | Fill to max line (~5 cups) | ½ cup mixed with ½ cup water | 2–3 | 10–12 min |
| Standard (12-cup) | Fill to max line (~12 cups) | 1 cup mixed with 1 cup water | 2–3 | 15–20 min |
| Single-serve pod machine | Full reservoir | ½ cup mixed with ½ cup water | 2–3 | 10–15 min |
| Strong plastic or chemical smell | Full reservoir | Equal parts water and vinegar | 3–4 | 20–25 min |
For a single-serve machine, run the clean cycle without a pod, and repeat until the water coming out runs clear and smells neutral. Pod machines hold less water, so each cycle is quicker but you may need one extra round.
Is It Safe to Use Vinegar in a New Coffee Maker?
Yes, for most drip machines — but only if your manual permits it, and only diluted. Straight vinegar is acidic enough to affect rubber seals and some metal parts over time, so always mix it with water at equal parts or weaker. Never pour vinegar into a machine whose manual says water only.
There’s a second reason to check the manual: some makers with an internal water filter or a sealed heating system need a specific descaling solution instead. The manufacturer’s instructions are the only source that knows your exact model, so when in doubt, follow them. If you can’t find the manual, search your model number on the maker’s official site before you pour anything in.
One safety note that applies to every machine: never put the base, the cord or any electrical part in water. Wipe those with a damp cloth only, and unplug the machine before you clean the outside.
Mistakes People Make With a Brand-New Machine
Using soap inside the water tank
Soap leaves a film that the next brew cycle pushes straight into your coffee. It also foams in the tubing and is hard to rinse out. Water and vinegar only inside the tank — soap is for the carafe and basket, which you rinse by hand.
Skipping the second plain-water cycle
This is the most common one, and it costs you a whole pot of coffee. Vinegar or cleaning residue left behind makes the first real brew taste sharp or sour, and people blame the beans. Always finish with at least one water-only cycle.
Filling past the max line
Overfilling makes water spill over the reservoir rim and pool on your counter, so stop at the max line every time. Stop at the max line every time, even if you want a faster job.
Running the machine before reading the manual
Some brands ship with tape, packing material or a shipping lock on the carafe that must be removed before use. A two-minute read of the setup page saves that confusion.
Assuming a self-cleaning mode does the whole job
A descale or clean indicator light reminds you to run the cycle for the inside lines, but it doesn’t touch the carafe, basket or the outside surfaces. You still wash those by hand. The button is one part of the job, not the whole thing.
Tip: If your new machine has a “clean” or “descale” button, run it once before first use, then still do a plain-water cycle afterward.
Frequently Asked Questions
Can I use lemon juice instead of vinegar?
Yes, in most machines that allow vinegar, though vinegar is the more common recommendation. If you use it, mix it with water at the same ratio and follow with a plain-water cycle. Vinegar rinses cleaner and is the safer default.
How do I know when the machine is fully clean?
The water coming out should be clear, with no smell and no color. Run one more cycle if you still notice a plastic or sour odor. Your nose on the water is the test — not the taste of the coffee, which can be affected by the beans.
Do I need to clean a new coffee maker if it’s a gift or was sealed in the box?
Yes. Sealed machines still sit in warehouses and pick up dust and factory residue inside the tank. The box protects the outside, not the water path. One water cycle takes 10 minutes and removes any doubt.
What if my machine only takes pods and has no carafe?
Run the clean cycle with the pod holder empty and a mug underneath. Repeat 2 to 3 times until the water runs clear. Never put a pod in during cleaning — it wastes a pod and can clog the needle.
Can I clean it with hot water to save time?
No. Use cool or room-temperature water. The machine heats the water itself during the cycle, so you don’t need to.
How often should I clean it after the first time?
For daily use, a plain-water rinse every week and a vinegar or descale cycle every 1 to 3 months, depending on how hard your water is. Hard water leaves mineral buildup faster, so watch for slower brewing as your cue.
Conclusion
Once the first cycle is done, set a simple reminder on your phone for the next descale, and keep the manual in a drawer you’ll actually open. If your water is hard, note the date of your first brew on the machine’s base — that small habit makes the next cleaning easy to time.