Have you ever wanted to make delicious, creamy ice cream right in your own kitchen? Using an old fashioned ice cream maker might sound tricky, but it’s actually simple and fun.
With just a few easy steps, you can turn basic ingredients into a tasty treat that everyone will love. In this guide, you’ll discover how to get the best results from your ice cream maker, avoid common mistakes, and enjoy the satisfaction of homemade ice cream.
Keep reading, and you’ll be whipping up your favorite flavors in no time!

Credit: garrettwade.com
Choosing The Right Ice Cream Maker
Choosing the right old fashioned ice cream maker is important for a great experience. It affects the taste and texture of your ice cream. It also influences how easy it is to use and clean. Knowing the types, materials, and size helps pick the best one.
Types Of Old Fashioned Ice Cream Makers
There are hand-crank and electric models. Hand-crank machines need you to turn a handle. This gives a classic feel and some workout. Electric models do the hard work for you. Both types make creamy ice cream but differ in effort and speed.
Materials And Build Quality
Look for sturdy materials like wood, metal, or heavy plastic. Wood adds a vintage look and lasts long with care. Metal parts should resist rust and bend. Thick plastic can be durable but may feel cheap. Good build quality means the machine works well and lasts years.
Capacity And Size Considerations
Capacity shows how much ice cream you can make at once. Small machines make about one quart, great for one or two people. Larger ones can make several quarts for families or parties. Size also affects where you store the machine. Pick a size that fits your needs and kitchen space.
Preparing Ingredients
Preparing the ingredients is the first step in making delicious ice cream with an old fashioned ice cream maker. It sets the foundation for creamy and tasty results. Careful selection and mixing of ingredients create a smooth base to freeze and churn. Simple steps lead to great homemade ice cream.
Selecting Fresh Ingredients
Choose fresh cream and milk for the best texture and flavor. Fresh eggs add richness and smoothness. Use sugar to balance the taste. Fresh ingredients ensure a clean, natural flavor. Avoid anything close to expiration. Freshness makes the ice cream taste better and last longer.
Mixing The Ice Cream Base
Combine cream, milk, and sugar in a bowl. Stir gently until the sugar dissolves completely. Beat eggs separately before adding them slowly. Mix well but avoid creating too much foam. A smooth and consistent base freezes evenly in the ice cream maker. Chilling the base before freezing improves texture and taste.
Flavor Additions And Variations
Add vanilla extract for classic flavor. Mix in cocoa powder for chocolate ice cream. Fresh fruit or fruit purees bring natural sweetness and color. Small pieces of nuts or chocolate chips add texture. Experiment with spices like cinnamon or nutmeg for unique tastes. Keep flavors simple to let the creaminess shine.
Setting Up The Ice Cream Maker
Setting up an old fashioned ice cream maker is simple and fun. This step is important for making smooth, creamy ice cream. Follow these easy steps to prepare your ice cream maker correctly. It helps the machine work well and keeps the ice cream cold.
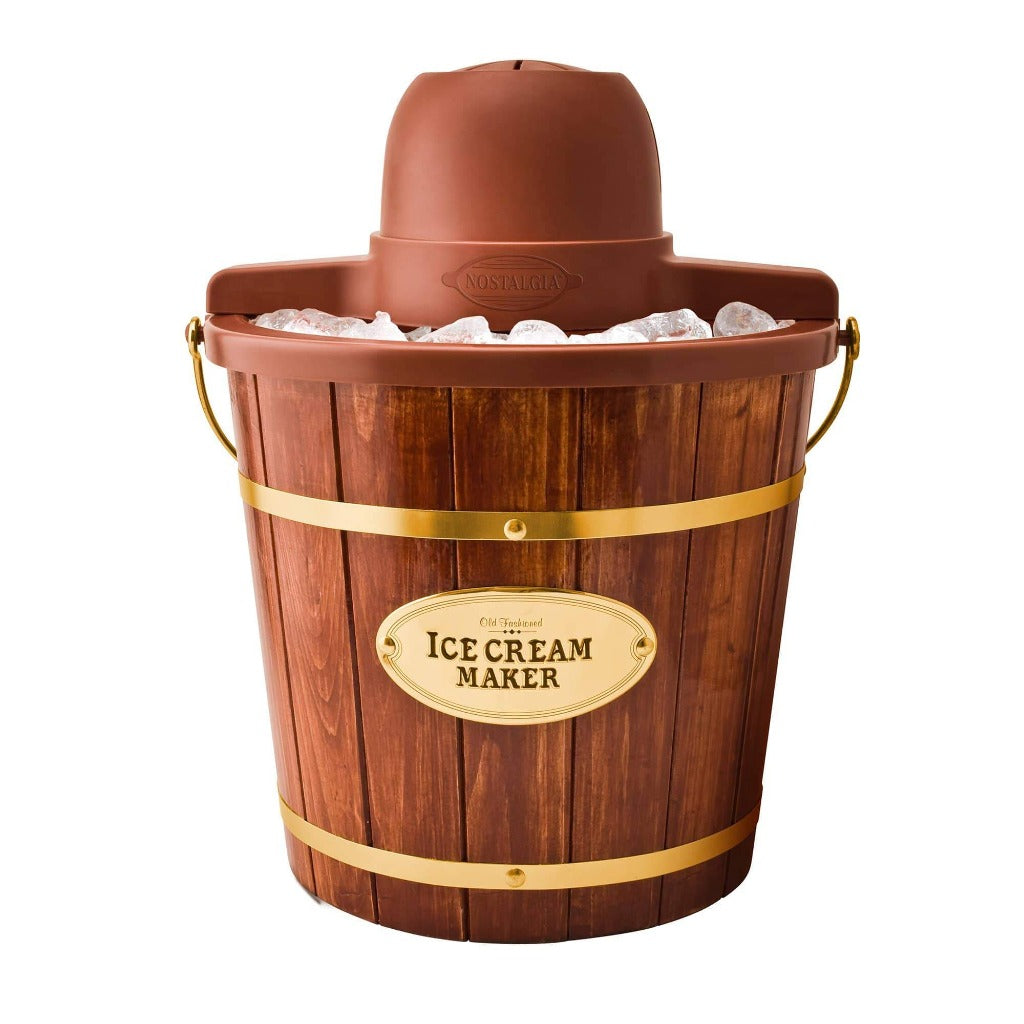
Freezing The Canister Or Ice
Start by freezing the canister. Place it in the freezer for at least 12 hours. The canister needs to be very cold to freeze the ice cream mix properly. If your ice cream maker uses ice and salt, prepare a mix of ice cubes and rock salt. This mix helps lower the temperature around the canister. Keep extra ice and salt ready for refilling during the process.
Assembling The Components
Take the frozen canister out of the freezer carefully. Place it inside the outer bucket or container. Attach the paddle or dasher inside the canister. The paddle stirs the ice cream mix and helps make it creamy. Put the lid on top to cover the canister. Make sure all parts fit tightly and are clean before assembling.
Ensuring Proper Seals And Locks
Check the lid seal to prevent air from entering. A tight seal keeps the cold air inside and helps the ice cream freeze faster. Lock the lid securely onto the bucket or container. Some models have clamps or locking rings. Make sure these are fastened to hold everything in place. This prevents leaks and keeps the ice cream maker stable during use.

Credit: www.amazon.com
Churning Process
The churning process is the heart of using an old fashioned ice cream maker. This step turns the ice cream mixture into a smooth, creamy dessert. Churning mixes the ingredients and adds air, making the ice cream light. It also helps to freeze the mixture evenly.
Understanding the churning process helps you get the best texture and flavor. It requires some effort but is very rewarding. The key is steady movement and the right timing.
Manual Cranking Techniques
Hold the handle firmly with one hand. Turn the crank slowly and steadily with the other. Avoid fast or jerky movements. Keep your wrist relaxed for smooth motion. Take short breaks if your hand gets tired. This keeps the churning even and consistent.
Maintaining Consistent Speed
Keep the crank speed steady throughout the process. A slow, steady pace helps form small ice crystals. This makes the ice cream creamy and soft. Watch the texture inside the bucket. Adjust your speed only if it becomes too hard or too soft.
Timing For Perfect Texture
Churn for about 20 to 30 minutes. Stop when the mixture thickens and feels cold. It should coat the paddle but still move easily. Over-churning can make it too hard. Under-churning leaves it too soft and icy. Check often to catch the perfect texture.
Troubleshooting Common Issues
Troubleshooting common issues with an old fashioned ice cream maker helps you enjoy smooth, creamy ice cream every time. Small problems can stop the freezing process or affect the texture. Knowing how to fix these issues saves time and frustration.
Ice Melting Too Quickly
Ice melting fast can ruin your ice cream. Use plenty of ice and salt around the canister. Salt lowers the melting point, keeping ice colder longer. Avoid opening the lid too often. Each time air enters, it warms the ice.
Ice Cream Not Thickening
If ice cream stays runny, check your ingredients. Use full-fat cream and cold mixture. Make sure the canister is well chilled before starting. Stirring too slowly or not long enough also stops thickening. Keep the churn moving steadily until firm.
Handling Mechanical Problems
Mechanical issues can stop the machine from working. Check if the crank or motor turns smoothly. Tighten any loose parts carefully. Clean the gears regularly to prevent jams. For electric models, ensure the power source is stable and cords are intact.
Cleaning And Maintenance
Keeping your old fashioned ice cream maker clean is key for tasty results every time. Proper care stops germs and keeps parts working well. Follow simple steps for cleaning and maintenance to enjoy your maker longer.
Disassembling The Maker
Take apart the ice cream maker carefully. Remove the dasher, the canister, and the lid. Check the manual for exact instructions. Handle parts gently to avoid damage. This makes cleaning easier and more thorough.
Washing Tips For Longevity
Use warm water and mild soap to wash parts. Avoid harsh cleaners that can damage surfaces. Rinse well to remove all soap. Dry parts completely with a soft cloth. Keep metal parts dry to stop rust. Clean after each use to prevent buildup.
Storage Recommendations
Store the ice cream maker in a cool, dry place. Keep all parts loose but together to avoid losing pieces. Cover the canister to stop dust from entering. Store away from direct sunlight. This protects your maker and keeps it ready for next time.
Creative Recipes To Try
Using an old fashioned ice cream maker can be a fun way to create delicious treats at home. You can try many recipes that suit your taste. This section shares easy and tasty ideas to make with your ice cream maker. Each recipe uses simple ingredients and clear steps.
Classic Vanilla And Chocolate
Vanilla and chocolate are timeless flavors. Start with a basic vanilla recipe using cream, sugar, and vanilla extract. Stir the mix until smooth before freezing. For chocolate, add cocoa powder or melted chocolate to the vanilla base. These recipes are simple and perfect for beginners.
Fruit-based Flavors
Fresh fruits add natural sweetness and color. Try strawberry, mango, or blueberry ice cream. Blend the fruit with cream and sugar for a smooth texture. You can also use fruit juices or purees. These flavors offer a refreshing and healthy twist to your ice cream.
Unique And Seasonal Ideas
Experiment with flavors like pumpkin spice in autumn or peppermint in winter. Use herbs like mint or basil for a fresh taste. Try adding nuts, honey, or cookie pieces for extra texture. Seasonal ingredients make your ice cream special and exciting to eat.
Credit: nostalgiaproducts.com
Frequently Asked Questions
How Do I Prepare An Old Fashioned Ice Cream Maker?
First, freeze the canister overnight. Mix your ice cream ingredients well. Fill the canister, then place it in the ice and salt mixture. Turn the crank steadily until the ice cream thickens. This process usually takes 20-30 minutes.
What Type Of Ice And Salt Should I Use?
Use crushed ice for faster freezing. Rock salt or kosher salt is best. Salt lowers the ice temperature, helping the ice cream freeze evenly and quickly. Avoid table salt as it can clump and affect texture.
How Long Does The Ice Cream Take To Freeze?
Typically, it takes 20 to 30 minutes. Cranking speed affects freezing time. Consistent turning ensures smooth texture. If ice melts, add more ice and salt to maintain cold temperature.
Can I Make Different Flavors In The Old Fashioned Ice Cream Maker?
Yes, you can make various flavors. Mix fruit, chocolate, or vanilla into your base. Customize by adding nuts or candies after mixing. Clean the canister thoroughly between flavors to avoid taste mixing.
Conclusion
Using an old fashioned ice cream maker is simple and fun. You just need a few ingredients and patience. The fresh, creamy ice cream is worth the wait. Try different flavors to enjoy variety. This tool brings a taste of tradition to your kitchen.
Share your homemade ice cream with family and friends. It creates happy moments and sweet memories. Give it a try and enjoy the cool treat!