Is your Keurig coffee maker not brewing like it used to? You rely on it every morning for that perfect cup of coffee, so when it stops working, it can throw off your whole day.
Don’t worry—you don’t have to rush out and buy a new one just yet. You’ll discover simple, step-by-step fixes that anyone can do at home. By the end, your Keurig could be back to making coffee just the way you like it.
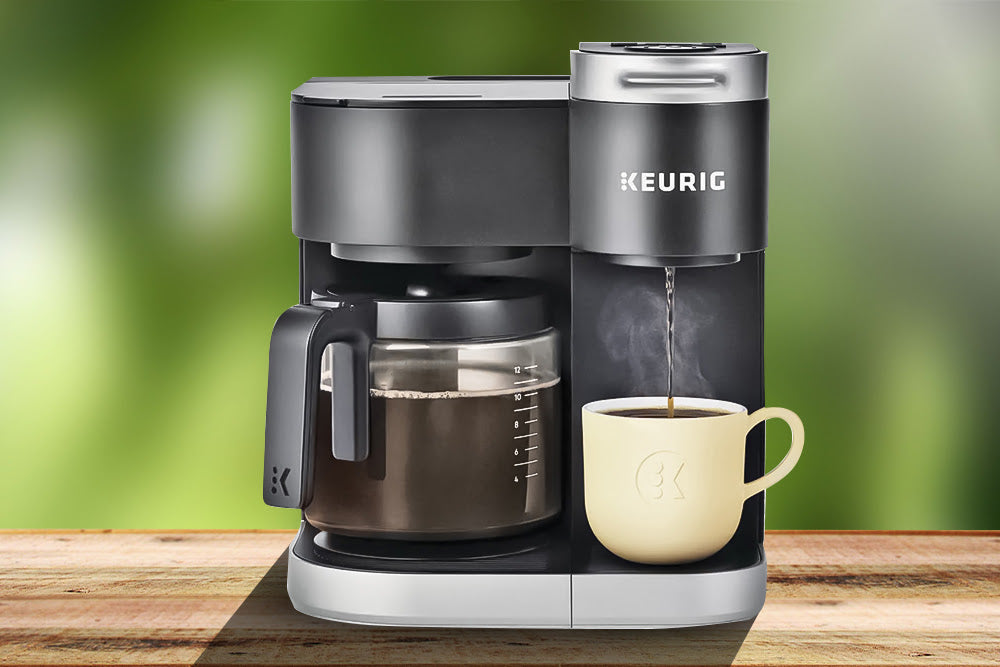
Ready to bring your coffee maker back to life? Let’s get started!
Common Keurig Issues
Keurig coffee makers are popular for quick and easy brewing. Despite their simplicity, they sometimes face common problems. Understanding these issues helps fix them fast. Here are some frequent Keurig problems and ways to address them.
Machine Not Brewing
A Keurig that won’t brew may have a clogged needle. Coffee grounds often block the needle that punctures the pod. Cleaning this needle usually solves the problem. Another cause is a low water level in the tank. Make sure the tank is full and properly seated.
Water Not Flowing
Water may stop flowing due to mineral buildup inside the machine. Descaling with a vinegar solution clears the pipes. Check the water pump too. A broken pump stops water from moving through the machine.
Leaking Problems
Leaks often come from loose parts or cracks. Check the water reservoir for cracks or poor placement. The drip tray might be full or misaligned. Tighten any loose connections. Replace damaged parts to stop leaks.
Error Messages
Keurig machines show error codes for different issues. Common errors include water tank errors and brew errors. Resetting the machine by unplugging it for a few minutes can help. Refer to the user manual for specific error meanings and fixes.
Credit: www.icecreamfactoryny.com
Basic Troubleshooting Steps
Basic troubleshooting steps can solve many common Keurig coffee maker problems. These steps are easy and quick. They help restore your machine’s normal function without expert help. Follow these simple actions to fix common issues.
Power Cycle Reset
Turn off your Keurig machine. Unplug it from the power outlet. Wait for about 5 minutes to clear any errors. Plug the machine back in. Turn it on and check if it works properly. This reset can fix many minor glitches.
Cleaning The Machine
Remove any used K-Cups and empty the drip tray. Wipe the exterior and the needle area with a damp cloth. Clean the water reservoir with warm soapy water. Rinse it well to avoid soap taste. Regular cleaning stops blockages and improves coffee taste.
Descaling Process
Fill the water reservoir with a descaling solution or white vinegar and water mix. Run a brew cycle without a K-Cup to clean inside parts. Repeat until the reservoir is empty. Rinse the reservoir with clean water. Run several cycles with fresh water to remove vinegar taste. Descaling removes mineral buildup that blocks water flow.
Fixing Water Flow Issues
Water flow problems can stop your Keurig from making coffee. This issue affects the machine’s ability to brew properly. Fixing water flow is key to getting your coffee back on track. Follow these simple steps to solve the problem fast.
Unclogging The Needle
The needle in your Keurig can get blocked by coffee grounds. This stops water from flowing through the pod. To clear the needle, first unplug the machine. Use a paperclip or needle to remove any debris. Be gentle to avoid damaging the needle. Clean both the top and bottom needles for best results.
Checking The Water Reservoir
A loose or empty water reservoir causes poor water flow. Make sure the reservoir is full of clean water. Check if it is seated properly on the machine. Sometimes the reservoir’s valve gets stuck. Press it gently to release any blockages. Clean the reservoir to remove buildup that may block water.
Inspecting The Pump
The pump moves water from the reservoir to the needle. A faulty pump can stop water flow completely. Listen for unusual sounds during brewing. If the pump is silent or noisy, it might be broken. Reset your Keurig by unplugging it for a few minutes. If the pump still fails, consider professional repair or replacement.
Resolving Leaks
Leaks in your Keurig coffee maker cause mess and waste water. Fixing leaks stops these problems fast. Finding the leak source helps you repair it correctly. Common leak areas include seals, gaskets, and connections. Simple steps can solve most leaks and save your machine.
Sealing Loose Parts
Loose parts create gaps where water escapes. Check the water reservoir and coffee pod holder. Press down on these parts to fit them tightly. Clean any dirt or coffee grounds blocking seals. Use a soft cloth to wipe surfaces before resealing. This tight fit prevents water from leaking out.
Replacing Gaskets
Gaskets stop water from leaking inside your machine. Over time, gaskets wear out or crack. Remove the old gasket carefully using a small tool. Buy a replacement gasket made for your Keurig model. Place the new gasket firmly in the right spot. This repair keeps water flowing inside without leaks.
Tightening Connections
Loose connections cause water to drip or spray. Check hoses and tubes linking water parts. Use your hand or a wrench to tighten nuts and joints. Avoid overtightening, which can break parts. Secure connections stop water leaks and keep your machine working well.
Handling Error Messages
Error messages on your Keurig can be confusing. They stop your coffee-making process. Handling these messages quickly helps you enjoy your coffee again.
These messages often show up on the screen. They tell you something needs fixing. Understanding what to do can save time and frustration.
Resetting The Machine
Start by turning off your Keurig. Unplug it from the power source. Wait about one minute. This lets the machine cool down and reset.
Plug it back in and turn it on. Check if the error message disappears. If it stays, try a hard reset by holding the power button for 10 seconds.
Resetting clears many minor errors. It refreshes the internal system. Often, this simple step solves the problem.
When To Contact Support
Contact support if the error keeps appearing. Or if the machine won’t start after resetting. Persistent error messages may mean a bigger issue.
Support can guide you through advanced fixes. They can tell if parts need replacement. Keep your machine model and error code ready for faster help.

Credit: www.youtube.com
Preventive Maintenance Tips
Taking care of your Keurig coffee maker helps it last longer and work well. Small habits can stop problems before they start. Preventive maintenance keeps your machine clean and safe. It also saves money on repairs. Simple steps improve the taste of your coffee too.
Regular Cleaning Schedule
Clean your Keurig every week. Remove the pod holder and wash it with warm water. Wipe the outside with a damp cloth. Run a brew cycle with just water to clear old coffee bits. Descale the machine every three months to remove mineral build-up. Use a descaling solution or white vinegar for this. Regular cleaning stops clogs and keeps coffee tasting fresh.
Using Filtered Water
Use filtered or bottled water for brewing. Tap water contains minerals that build up inside the machine. These minerals cause blockages and affect taste. Filtered water reduces scale and extends the life of your Keurig. It also prevents damage to the internal parts. Clean water means better coffee and fewer repairs.
Proper Storage
Store your Keurig in a dry place when not in use. Avoid areas with heat or direct sunlight. If you won’t use it for a while, empty the water reservoir. Dry all parts before storing. Proper storage prevents mold and rust. It keeps your coffee maker ready for the next use.

Credit: www.esseg.eu
Frequently Asked Questions
How Do I Fix A Keurig That Won’t Brew?
Check if the water reservoir is full and properly seated. Clean the needle and remove any blockages. Descale the machine regularly to prevent mineral buildup. Restart the machine after cleaning to reset it.
Why Is My Keurig Not Puncturing The K-cup?
Inspect the needle for clogs or damage. Clean the needle using a paperclip or needle tool. Ensure the K-Cup is correctly placed and the holder is securely closed. Replace the needle if it’s bent or broken.
How Can I Fix A Keurig With Water Leakage?
Check the water reservoir for cracks or improper placement. Clean the seals and gaskets around the reservoir and brew head. Replace damaged parts if leakage persists. Avoid overfilling the reservoir to prevent spills.
What Should I Do If My Keurig Won’t Turn On?
Ensure the machine is plugged into a working outlet. Check the power button and try a reset by unplugging for 5 minutes. Inspect the power cord for damage. Contact support if the issue continues.
Conclusion
Fixing your Keurig coffee maker can be simple with basic steps. Cleaning parts and checking the water supply often solves issues. Regular maintenance keeps your machine working well longer. Small repairs save money and reduce waste. Enjoy fresh coffee without needing a new machine.
Take time, follow instructions, and brew happily again.